Dry Rainbow Slide Installation Instruction
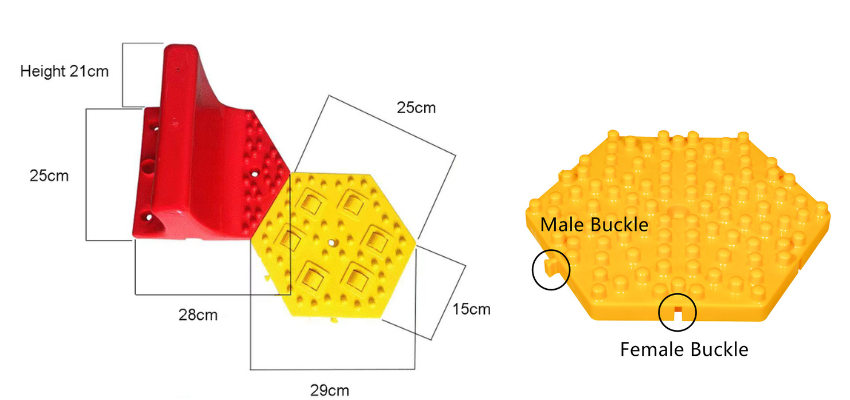 INSTALLATION METHOD
a) Laying ground
The ground must have a flat, compact and stable surface; the slope may vary between 0° and 40°.
If it is not a ready-made slope, steel and wood structure or reinforced concrete structure can be adopted to set up the slope. Consult local professional skiing slope planning and construction companies for more details.

b) Install Dry Ski Slope Tiles
Installation must be from top to bottom and from left to right; it is only possible to proceed with one horizontal row at a time. Arrange the colors as the color scheme.
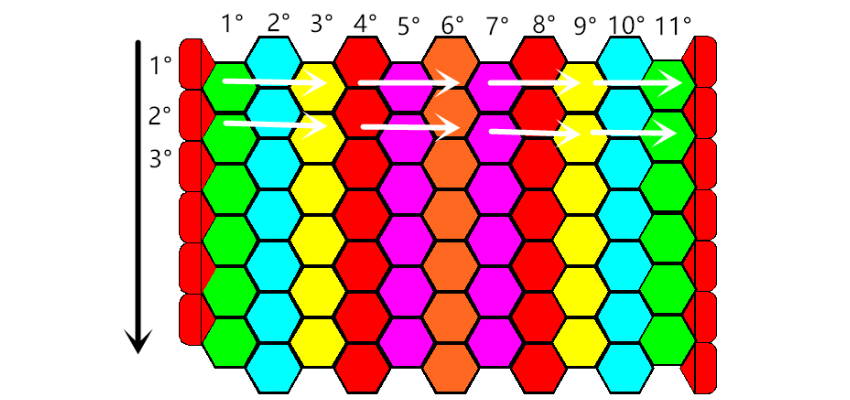
The laying mode is as follows: Keep every piece in the same direction, and make sure the next piece's female buckle is always upon the last piece's male buckle. After interlocking a section to check whether the color collocation is correct, and then continue to interlock the rest part.
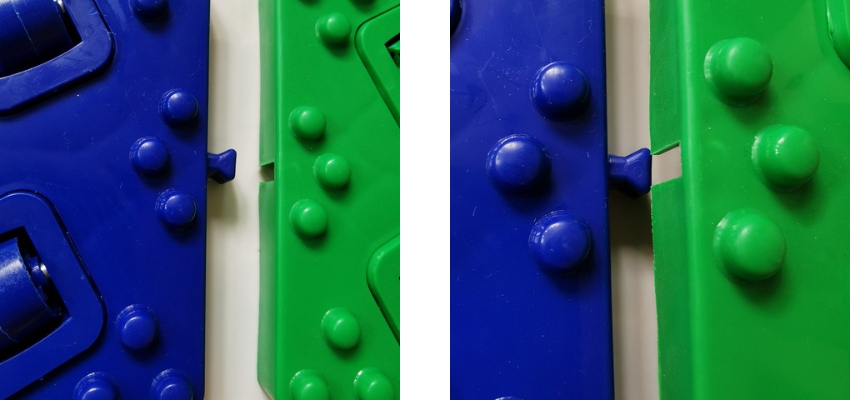
c) Ground Fixing
For the fixing to the ground, we provide different screws for different kinds of structures; these must be used according to a precise scheme.
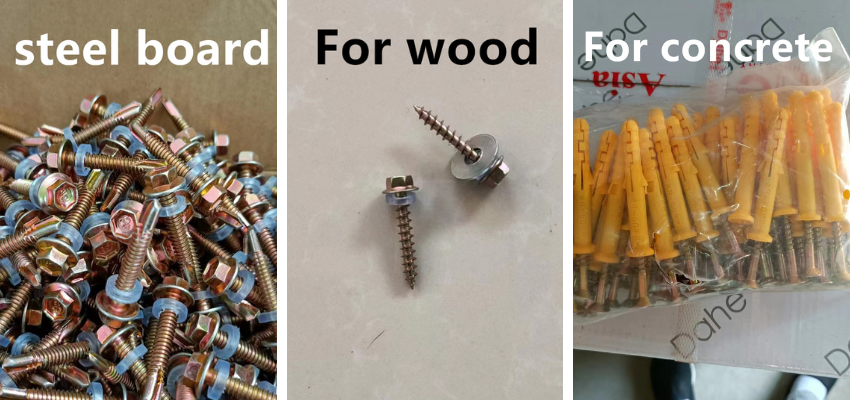
The first two rows of tiles, at the top of the track, must be hooked to the ground with one screw for each element. And must fix the first two rows on the ground once when the place is confirmed.
From the third row to the next 30 meters, on the other hand, put the tiles on the ground first, adjust the place to make sure it’s in a straight line, and then fix them with the screws.
After that, you can repeat do as it.
Tips:
1) Draw a line on the ground to make sure the tiles are interlocking straight or in the right
place.
2) Set two bumpers on both sides of the track in case you move out.
3) Set one deceleration zone at the end of your slope. Its length is based on the slope of
your degree.
4) After the installation is completed, the first test slide can be used woven bags filled with
60kg soil placed in the snow tube. People do not sit directly for the first time test.


